Моему приложению требовалось простое уведомление Android со звуком и значком. Вот код, который я использовал, чтобы это произошло. Я знаю, что в Android есть много других типов уведомлений, но на этот раз я просто хочу показать вам очень простой код, который также может решить вашу проблему!
Я, вероятно, создам серию постов в блоге, касающихся уведомлений Android, и сделаю это как шпаргалку для всех нас. В любом случае, вот несколько скриншотов сегодняшнего вывода кода:
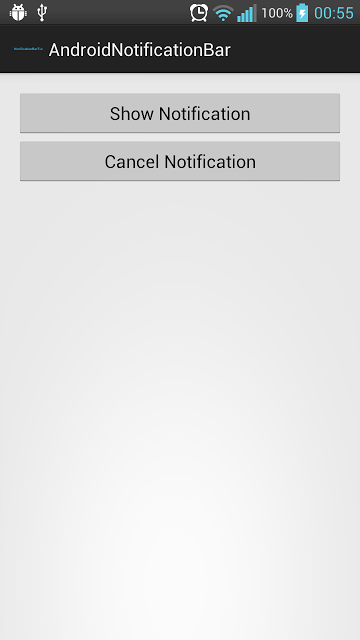 |
| Когда вы запускаете этот код. |
 |
| Когда вы нажимаете кнопку «Показать уведомление», панель уведомлений будет иметь значок ниндзя и вы услышите звук (убедитесь, что вы не в беззвучном режиме). |
| |
| Когда вы скользите вниз по панели уведомлений. |
Скрыть уведомление
Как скрыть уведомление? Есть два способа:
1. Сначала вы можете нажать кнопку «Отменить уведомление».
2. Или, во-вторых, проведите уведомление влево или вправо (проведите уведомление на третьем изображении).
Эти способы были установлены программно, поэтому читайте код (с комментариями) ниже.
Давайте код!
Вот наш удивительный код: MainActivity.java
|
01
02
03
04
05
06
07
08
09
10
11
12
13
14
15
16
17
18
19
20
21
22
23
24
25
26
27
28
29
30
31
32
33
34
35
36
37
38
39
40
41
42
43
44
45
46
47
48
49
50
51
52
53
54
55
56
57
58
59
60
61
62
63
64
65
66
67
68
69
70
71
72
73
74
75
76
77
78
79
80
81
82
83
84
85
86
|
package com.example.androidnotificationbar;import android.media.RingtoneManager;import android.net.Uri;import android.os.Bundle;import android.view.View;import android.app.Activity;import android.app.Notification;import android.app.NotificationManager;import android.app.PendingIntent;import android.content.Context;import android.content.Intent;public class MainActivity extends Activity { @Override protected void onCreate(Bundle savedInstanceState) { super.onCreate(savedInstanceState); setContentView(R.layout.activity_main); // listener handler View.OnClickListener handler = new View.OnClickListener(){ public void onClick(View v) { switch (v.getId()) { case R.id.btnShowNotification: showNotification(); break; case R.id.btnCancelNotification: cancelNotification(0); break; } } }; // we will set the listeners findViewById(R.id.btnShowNotification).setOnClickListener(handler); findViewById(R.id.btnCancelNotification).setOnClickListener(handler); } public void showNotification(){ // define sound URI, the sound to be played when there's a notification Uri soundUri = RingtoneManager.getDefaultUri(RingtoneManager.TYPE_NOTIFICATION); // intent triggered, you can add other intent for other actions Intent intent = new Intent(MainActivity.this, NotificationReceiver.class); PendingIntent pIntent = PendingIntent.getActivity(MainActivity.this, 0, intent, 0); // this is it, we'll build the notification! // in the addAction method, if you don't want any icon, just set the first param to 0 Notification mNotification = new Notification.Builder(this) .setContentTitle("New Post!") .setContentText("Here's an awesome update for you!") .setSmallIcon(R.drawable.ninja) .setContentIntent(pIntent) .setSound(soundUri) .addAction(R.drawable.ninja, "View", pIntent) .addAction(0, "Remind", pIntent) .build(); NotificationManager notificationManager = (NotificationManager) getSystemService(NOTIFICATION_SERVICE); // If you want to hide the notification after it was selected, do the code below // myNotification.flags |= Notification.FLAG_AUTO_CANCEL; notificationManager.notify(0, mNotification); } public void cancelNotification(int notificationId){ if (Context.NOTIFICATION_SERVICE!=null) { String ns = Context.NOTIFICATION_SERVICE; NotificationManager nMgr = (NotificationManager) getApplicationContext().getSystemService(ns); nMgr.cancel(notificationId); } }} |
Я также поместил значок ниндзя в нашу папку для рисования, которая является источником нашей иконки.
Пожалуйста, поделитесь, какой пример уведомления Android вы хотите дальше!