Первоначально автор Adron Hall
В первой части этой серии статей о вариантах развертывания Node.js и PaaS я рассмотрел Windows Azure. В этой части я собираюсь погрузиться в небольшую удивительную мощь Cloud Foundry от AppFog . Команда разработчиков в AppFog имеет один из самых элегантных пользовательских интерфейсов и понятный пользовательский интерфейс, доступный для Cloud Foundry сегодня. Кроме того, они позволяют избежать ограничений одним провайдером «инфраструктура как услуга» (IaaS), таким как AWS , HP или Rackspace . Вместо этого вы можете выбрать тот, который вы хотите, или несколько из них. Сейчас они работают над добавлением дополнительных поставщиков инфраструктуры, включая Windows Azure .
Первый шаг с AppFog — это регистрация учетной записи. AppFog имеет действительно конкурентоспособную модель ценообразования, основанную на памяти; Вы платите больше всего за 2 ГБ, но это бесплатно. Таким образом, тестирование, экспериментирование и запуск базового сайта очень просты в кармане.
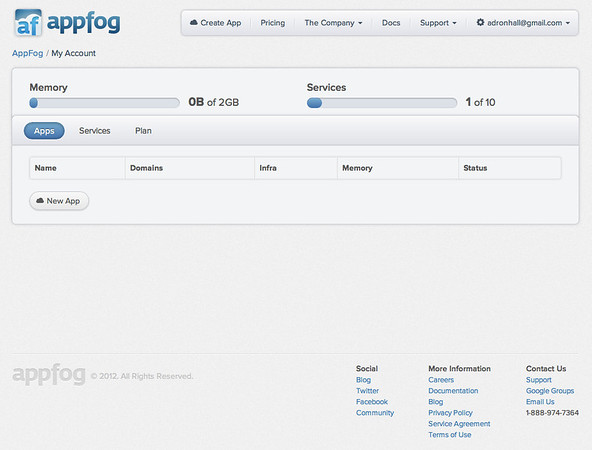
Получив учетную запись, войдите в систему и перейдите в консоль AppFog. Это первая страница, на которую вы обычно заходите, когда входите в систему:
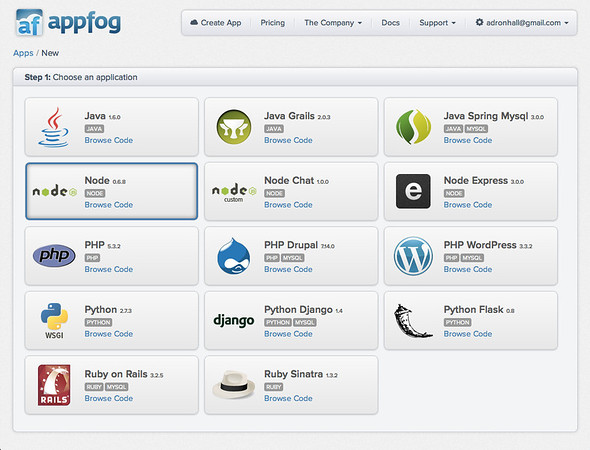
Отсюда нажмите кнопку « Новое приложение» :
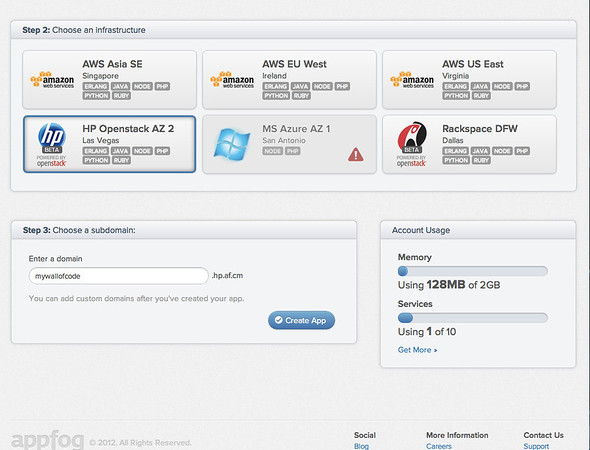
Здесь выберите опцию приложения Node.js 0.6.8 , выберите провайдера облачного IaaS, который вы хотите использовать, и назовите приложение. Затем нажмите « Создать приложение» :
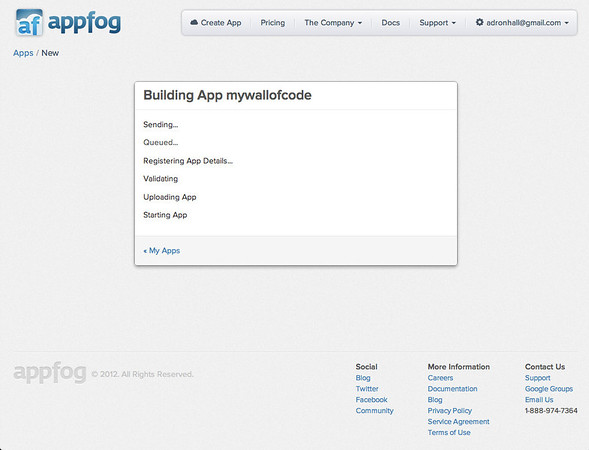
Как только приложение будет создано, вы увидите простое всплывающее окно состояния:
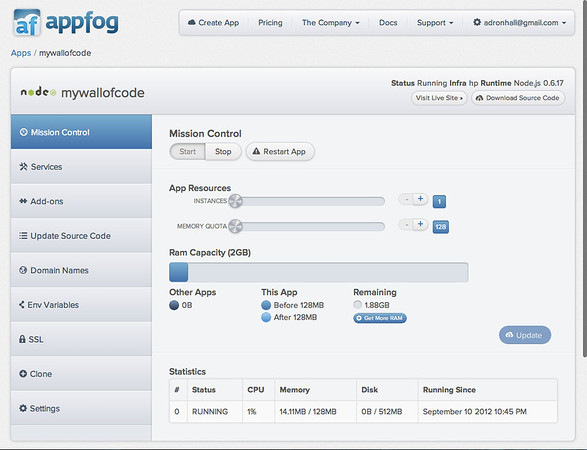
После запуска приложения вы будете перенаправлены на страницу управления:
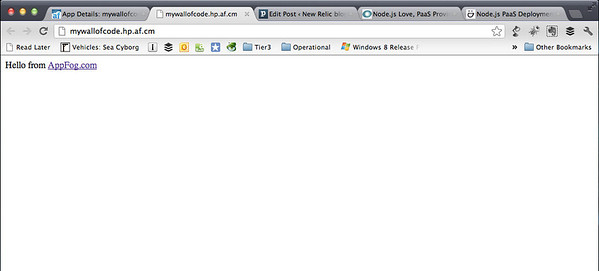
There is already a basic blank Node.js App.js file on the site, so if you navigate to the path the AppFog interface creates for you, you’ll see a simple ‘Hello World’ style page:
Let’s walk through this starting with an empty application and putting together the application using the existing Github repo. This is the repo we discussed in Part 1. If you want to review the application again check out Part 1 and Part 2 of how I put together the project. For this deployment I did update my app.js a bit to be very simplified. The finished file looks like this:
var express = require('express')
, routes = require('./routes')
, http = require('http')
, path = require('path');
var app = express();
app.configure(function(){
app.set('port', process.env.PORT || 3000);
app.set('views', __dirname + '/views');
app.set('view engine', 'jade');
app.use(express.favicon());
app.use(express.logger('dev'));
app.use(express.bodyParser());
app.use(express.methodOverride());
app.use(app.router);
app.use(express.static(path.join(__dirname, 'public')));
});
app.configure('development', function(){
app.use(express.errorHandler());
});
app.get('/', routes.index);
http.createServer(app).listen(app.get('port'), function(){
console.log("Express server listening on port " + app.get('port'));
});
With these minor changes the code base is ready to copy over and be deployed to AppFog. To do this requires a few steps and some command line action. Navigate to the AppFog Control Panel and click Update Source Code. You’ll find instructions there on how to pull down the code that is already on the site and how to edit that code. The first thing you’ll need to do is to get the af CLI, which is basically a Cloud Foundry VMC wrapped for AppFog, thus af.
gem install af
You may need to “sudo install af” depending on how you have your machine setup. Once that is installed, login with the new gem:
af login
Click the Download Source Code button on the AppFog Control Panel. Open up the code, put it into a directory you’d prefer and copy the contents of the Github repo over the top of this, replacing the app.js and everything else. Now navigate to the directory using bash and then with af type the following command to update the site with the new content.
af update mywallofcode
Your results come back while the site is updated and restarted with the new contents.
$ af update mywallofcode
Uploading Application:
Checking for available resources: OK
Processing resources: OK
Packing application: OK
Uploading (156K): OK
Push Status: OK
Stopping Application 'mywallofcode': OK
Staging Application 'mywallofcode': OK
Starting Application 'mywallofcode': OK
Considering you can push the applications you want against several IaaS providers, AppFog’s capabilities really open up a lot of options that aren’t available elsewhere. This is especially useful when setting up a geographically dispersed site. This will grow even more as additional IaaS provider data points of presence are added.
Well, that should get your code up and running. Hope you enjoyed Part 2. Until next time, happy noding and coding.
