В настоящее время крупным компаниям нужны масштабируемые и непрерывные приложения. Как правило, такие среды используют несколько серверных приложений. Таким образом, если ваше приложение работает на нескольких серверах, вы должны каким-то образом обмениваться данными между этими серверами или кэшировать свои данные, чтобы получить более быстрое время отклика. Здесь Hazelcast входит в игру, позволяя вам легко обмениваться данными своего приложения и распределять их по всем узлам кластера.
Сегодняшний пост полностью сфокусирован на кластеризации . Мы покажем вам, как вы можете использовать платформу кластеризации и распределения данных Hazelcast в облаке Jelastic. Это очень быстрое, отказоустойчивое, легко масштабируемое и удобное решение. Если вам нужно обмениваться данными между несколькими серверами, кластеризовать свое Java-приложение, кэшировать данные, обеспечить безопасную связь ваших серверов или надежное управление данными, Hazelcast — то, что вам нужно.
Hazelcast использует многоадресную рассылку для обнаружения по умолчанию или TCP / IP для сред, где многоадресная рассылка недоступна. Итак, Jelastic — идеальное решение для вашего кластерного хостинга Hazelcast. Давайте посмотрим, как эти две платформы работают вместе.
Создать среду
1. Войдите в Jelastic.
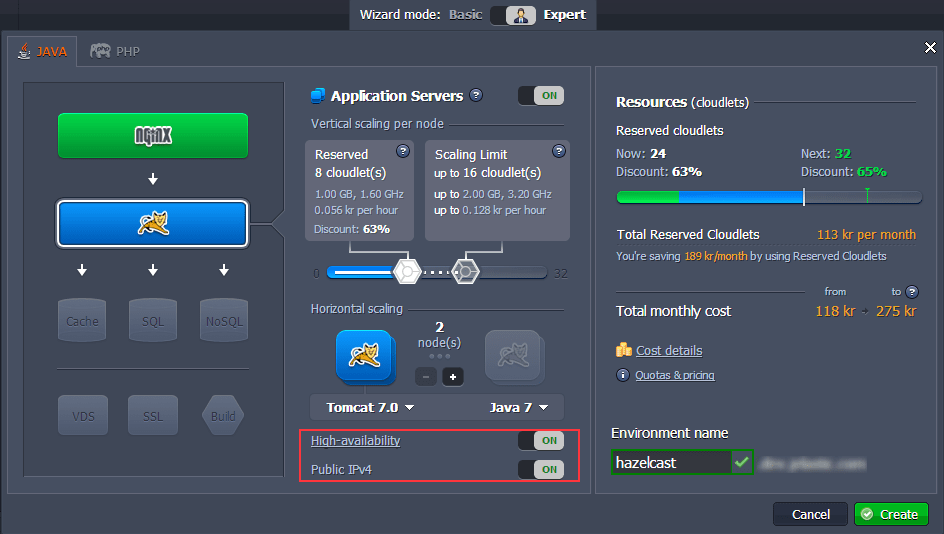
2. Create an environment with a Tomcat 7 HA cluster, set up the cloudlet limit and switch on Public IPv4 for it.
Wait a few minutes until your environment is created.
Download Hazelcast
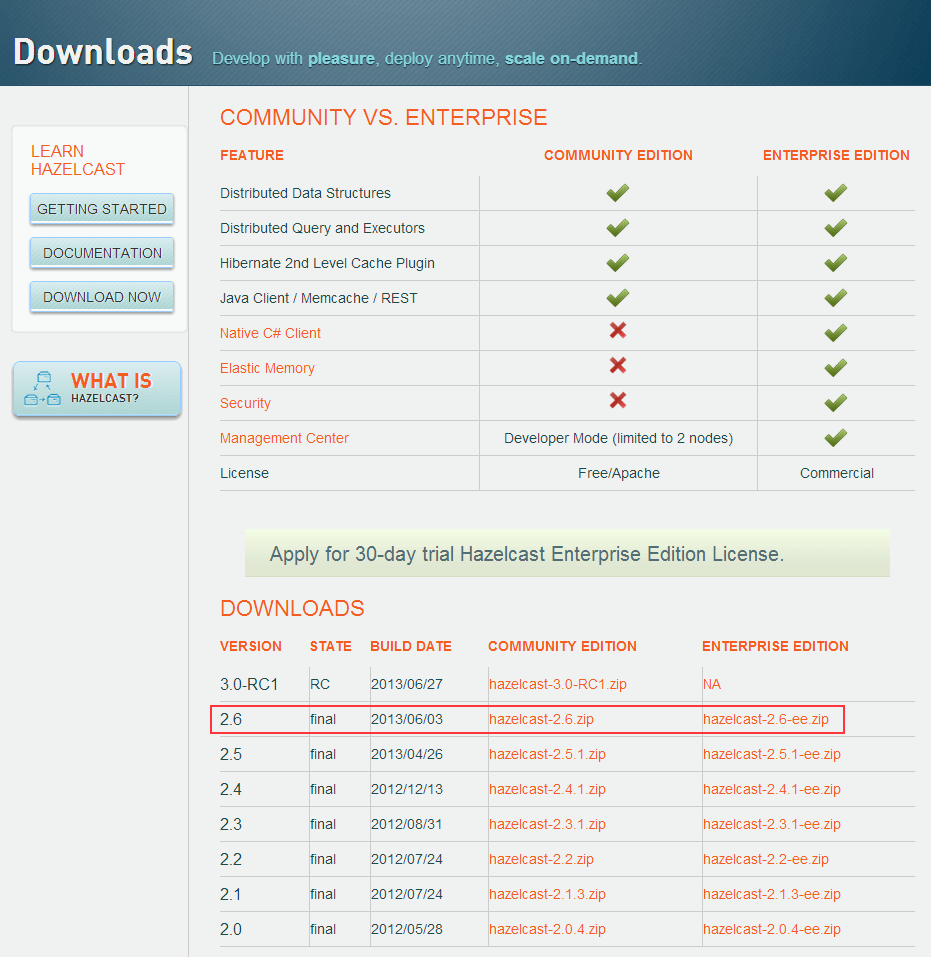
1. Navigate to hazelcast.com and download the latest stable release of the platform.
2. Extract the files from the package you’ve just downloaded.
Create application
We will create a simple Java server and client apps using Hazelcast cluster for further deployment into the Jelastic environment we have created earlier.
Server application
1. Create your server application Java class and import all the necessary Hazelcast libraries, which are included in the package you’ve downloaded (hazelcast-x.x.x/lib). In our case we use sample Hazelcast application, which starts the first server and uses the customer’s map and queue:
package com;

import com.hazelcast.core.Hazelcast;
import java.util.Map;
import java.util.Queue;

public class HazelcastServer {

public void run() {
Map<Integer, String> mapCustomers = Hazelcast.getMap("customers");
mapCustomers.put(1, "Joe");
mapCustomers.put(2, "Ali");
mapCustomers.put(3, "Avi");

System.out.println("Customer with key 1: " + mapCustomers.get(1));
System.out.println("Map Size:" + mapCustomers.size());

Queue queueCustomers = Hazelcast.getQueue("customers");
queueCustomers.offer("Tom");
queueCustomers.offer("Mary");
queueCustomers.offer("Jane");
System.out.println("First customer: " + queueCustomers.poll());
System.out.println("Second customer: " + queueCustomers.peek());
System.out.println("Queue size: " + queueCustomers.size());
 }
}
2. Create your servlet listener, which will run your code automatically after its deployment.
package com;

import javax.servlet.ServletContextEvent;
import javax.servlet.ServletContextListener;

public class AppServletContextListener implements ServletContextListener{
 @Override
 public void contextDestroyed(ServletContextEvent arg0) {
 System.out.println("ServletContextListener destroyed");
 }

 @Override
 public void contextInitialized(ServletContextEvent arg0) {
 System.out.println("ServletContextListener started");
 new HazelcastServer().run();
 }
}
3. Add <listener> section to your web.xml file.
<web-app version="3.0" xmlns="http://java.sun.com/xml/ns/javaee" xmlns:xsi="http://www.w3.org/2001/XMLSchema-instance" xsi:schemaLocation="http://java.sun.com/xml/ns/javaee http://java.sun.com/xml/ns/javaee/web-app_3_0.xsd">
    <session-config>
        <session-timeout>
            30
        </session-timeout>
    </session-config>
    <listener>
        <listener-class>com.AppServletContextListener</listener-class>
    </listener>
</web-app>
4. Build your project into WAR archive.
Client application
Create the Java class using Hazelcast Native Java Client API. We use Hazelcast sample, which connects to both nodes in our cluster and displays the number of customers in the map:
package com;

import com.hazelcast.client.ClientConfig;
import com.hazelcast.client.HazelcastClient;
import com.hazelcast.core.HazelcastInstance;
import com.hazelcast.core.IMap;

public class HazelcastClientClass {

public static void main(String[] args) {
 ClientConfig clientConfig1 = new ClientConfig();
 ClientConfig clientConfig2 = new ClientConfig();
 clientConfig1.addAddress("first_server_node_public-ip:port");
 clientConfig2.addAddress("second_server_node_public-ip:port");
 HazelcastInstance client1 = HazelcastClient.newHazelcastClient(clientConfig1);
 HazelcastInstance client2 = HazelcastClient.newHazelcastClient(clientConfig2);
 IMap map1 = client1.getMap("customers");
 IMap map2 = client2.getMap("customers");
 System.out.println("Map1 Size:" + map1.size());
 System.out.println("Map2 Size:" + map2.size());
 }
}
Note: You can see your Public IPs by clicking on the additional button for your server nodes like it’s shown on the next screenshot:
The port number for each node should be the same for the case when you use two different nodes for your cluster.
Deploy application
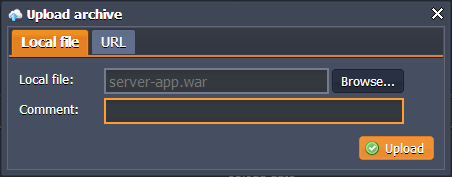
1. Go back to the Jelastic Dashboard and upload your server app WAR package to the Deployment Manager.
2. Deploy it to the clustered environment you’ve created.
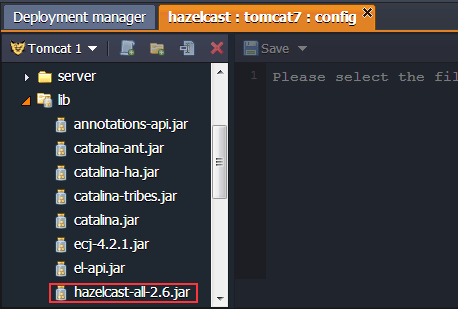
3. Click the Config button for Tomcat and upload hazelcast-all-2.6.jartothe lib folder.
4. Restart your servers in order to apply new settings.
5. Check your server logs to ensure that your Hazelcast cluster was created.
Note:According to logs you can see that both our Tomcat instances have been successfully clustered and Hazelcast server applications successfully communicate between each other.
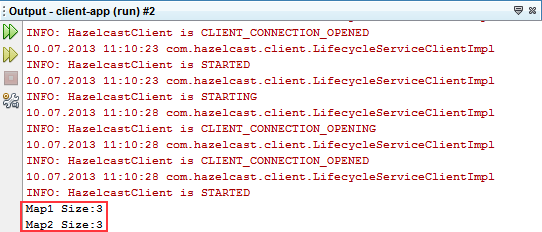
6. Run you client application locally. You’ll see that client connects to both servers and gets the size of the map on each Hazelcast cluster node.
As you can see, Jelastiс was specially designed for highly scalable, clustered application hosting. That’s why it so easy to host such apps on our cloud platform. Now developers can save a lot of their time developing and deploying large clusters, especially when application is distributed.
