В этом посте мы собираемся использовать REST API управления службами Windows Azure с приложением Windows 8. Я создал небольшое приложение, которое перечисляет учетные записи хранения в подписке в качестве подтверждения концепции. Поскольку я чувствую себя более комфортно с XAML / C #, чем с HTML5 / JavaScript, я построил это приложение с использованием первого, хотя в ходе изучения этого проекта я создал небольшой прототип с использованием HTML5 / JS. Я включил соответствующие фрагменты кода этого также.
Сертификаты X509
Как вы знаете, REST API управления службами Windows Azure использует проверку подлинности на основе сертификатов X509 . Когда я начал изучать его, первым делом я обнаружил, что в приложениях .Net API для приложений Windows 8 отсутствует прямая поддержка сертификатов X509. Я почти отказался от этого, когда Майк Вуд ( http://mvwood.com/ & http://twitter.com/mikewo ), MVP Windows Azure, указал мне на эту документацию по MSDN для создания приложений Windows 8: http: / /msdn.microsoft.com/en-us/library/windows/apps/hh465029.aspx . Ну, а затем следует непрерывное кодирование различных проб и ошибок.
Короче говоря, нет прямой поддержки сертификатов X509 в базовом API (как то, что вы имеете в стандартном .Net API), но это позволяет вам установить существующий сертификат PFX в хранилище сертификатов вашего приложения. Это выполняется с помощью метода ImportPfxDataAsync (C #) / importPfxDataAsync (JavaScript) в классе Windows.Security.Cryptography.Certificates.CertificateEnrollmentManager . Вот фрагмент кода, чтобы сделать то же самое:
C #:
await Windows.Security.Cryptography.Certificates.CertificateEnrollmentManager.ImportPfxDataAsync(
    encodedString,
    TextBoxPfxFilePassword.Password,
    ExportOption.NotExportable,
    KeyProtectionLevel.NoConsent,
    InstallOptions.None,
    "Windows Azure Tools");
JavaScript:
Windows.Security.Cryptography.Certificates.CertificateEnrollmentManager.importPfxDataAsync(certificateData2, "", Windows.Security.Cryptography.Certificates.ExportOption.exportable,
    Windows.Security.Cryptography.Certificates.KeyProtectionLevel.noConsent, Windows.Security.Cryptography.Certificates.InstallOptions.none, "My Test Certificate 1")
Здесь encodedString — данные файла PFX в кодировке Base64, что-то вроде этого ( нажмите, чтобы увеличить ):
и пароль — это пароль для вашего файла сертификата PFX.
Когда вы вызываете этот метод, приложение должно установить сертификат в хранилище сертификатов вашего приложения. Вы можете проверить это, перейдя в папку « AC / Microsoft / SystemCertificates / My / Certificates » в каталоге пакета приложения. Каталог пакетов создается в папке « AppData / Local / Packages » вашей учетной записи, как показано на снимке экрана ниже ( нажмите, чтобы увеличить ):
Обратите внимание, что имя файла будет отпечатком сертификата.
Это в значительной степени относится к работе с файлами PFX. Однако есть некоторые важные проблемы, которые необходимо понять, когда эти сертификаты используются для аутентификации вызовов REST API. Я потратил около 24 — 48 часов, пытаясь сделать эту работу. Пожалуйста, смотрите раздел « Особые соображения » ниже для тех.
Использование REST API
Использовать REST API было довольно просто! Если вы используете C #, вы бы использовали HttpClient в пространстве имен System.Net.Http , а если вы используете JavaScript, вы бы использовали функцию WinJS.xhr, которая, по сути, является оболочкой для XMLHttpRequest . Вот фрагмент кода, чтобы сделать то же самое:
C #:
private const string x_ms_version_name = "x-ms-version";
private const string x_ms_version_value = "2012-03-01";
Uri requestUri = "https://management.core.windows.net/[your subscription id]/services/storageservices";

public static async Task<string> ProcessGetRequest(Uri requestUri)
{
    HttpClientHandler aHandler = new HttpClientHandler();
    aHandler.ClientCertificateOptions = ClientCertificateOption.Automatic;
    HttpClient aClient = new HttpClient(aHandler);
    aClient.DefaultRequestHeaders.Add(x_ms_version_name, x_ms_version_value);
    HttpRequestMessage request = new HttpRequestMessage(HttpMethod.Get, requestUri);
    var result = await aClient.GetAsync(requestUri, HttpCompletionOption.ResponseContentRead);
    var responseBody = await result.Content.ReadAsStringAsync();
    return responseBody;
}
JavaScript:
var uri = "https://management.core.windows.net/[your subscription id]/services/storageservices";
WinJS.xhr({ url: uri, headers: { "x-ms-version": "2012-03-01" } })
    .done(
       function (/*@override*/ request) {
           var responseData = request.responseText;
       },
       function (error) {
           var abc = error.message;
       });
Это все, что нужно сделать. Если ваш запрос выполнен успешно, вы получите ответные данные обратно в виде XML, которые вы сможете проанализировать и использовать в своем приложении.
Особые соображения
Звучит довольно просто, но, к сожалению, это не так. Я потратил от 24 до 48 часов, пытаясь понять все это. Я смог правильно установить сертификат, но затем, когда я вызывал REST API с использованием кода C #, я постоянно получал ошибку 403 от службы. Я попал на этот пост на форумах MSDN: http://social.msdn.microsoft.com/Forums/sv/winappswithcsharp/thread/0d005703-0ec3-4466-b389-663608fff053, и это мне очень помогло.
Исходя из моего опыта, вот некоторые вещи, которые вам необходимо принять во внимание:
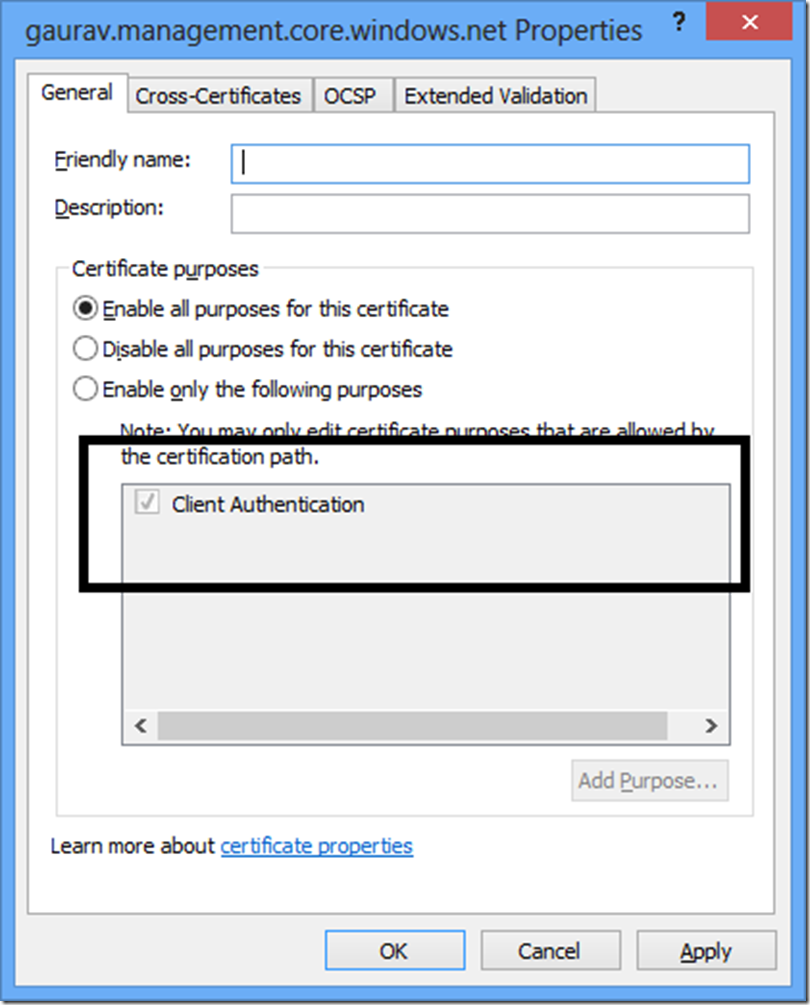
Убедитесь, что «Аутентификация клиента» включена как одна из целей сертификата
Your certificate must have this property enabled (as shown in the screenshot above) if you wish to use this certificate in your Windows 8 application. Please note that when consuming a REST API in your non-Windows 8 applications, it is not required that this property is set.
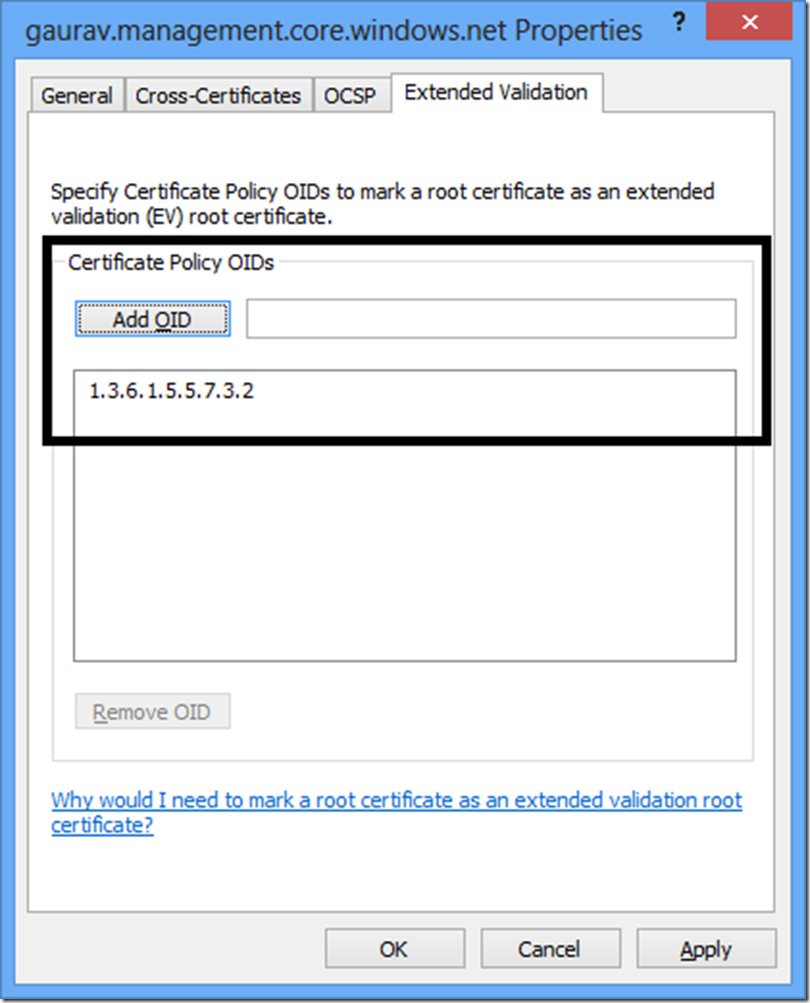
Ensure that the certificate has “OID” specified for it
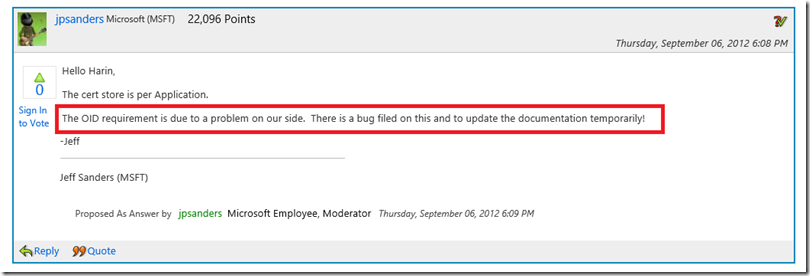
Based on the MSDN forum thread above, this is a bug with Microsoft.
HttpClient and WinJS.xhr are not the same
I started with building a XAML/C# application (because of comfort level) and no matter what I tried, I could not make the REST API call work. It was only later I was made aware of the 2 issues above. However I took the certificate which was giving me problems (because of 2 issues above) and built a simple HTML5/JavaScript application and it worked like a charm. You would still need to have “Client Authentication” enabled in your certificate but not the OID one when consuming Service Management API through JavaScript.
It may very well be an intermediate thing (because of OID bug mentioned above) but I thought I should mention it here.
Try avoiding “Publish Profile File” if you’re consuming a REST API in XAML/C# application
Publish Profile File, as you know is an XML file containing information about all your subscriptions (Subscription Id etc.) and Base64 encoded PFX certificate content. It’s a great way to get access to all your subscriptions. The reason I’m saying you should avoid it here is because what I found is that the PFX certificate from which the content is generated currently missing OID in there. So till the time Microsoft fixes this issue, please go individual certificate route if you’re developing using C#/XAML. If you’re building using HTML5/JavaScript, you can write something which will import this file as based on my testing it works. Just remember that the password for the certificate is an empty string. So specify an empty string (“”) for the password parameter in your call to importPfxDataAsync method.
Recommend that you create a new management certificate if you’re consuming a REST API in C#/XAML application
Again this is because of the issues I mentioned above. You will need to check if the certificates you have in place today do not have the 2 issues I mentioned above. You can use “makecert” utility for creating a new certificate. I was recommended the following syntax for creating a new certificate.
makecert -r -pe -n "CN=[Your Certificate Common Name]" -b 09/01/2012 -e 01/01/2099 -eku 1.3.6.1.5.5.7.3.2 -ss My
Run this in “Developer Command Prompt” on a Windows 8 machine to create a new certificate which will get automatically installed in your computer’s certificate store. You can export that certificate using “certmgr” utility.
The App
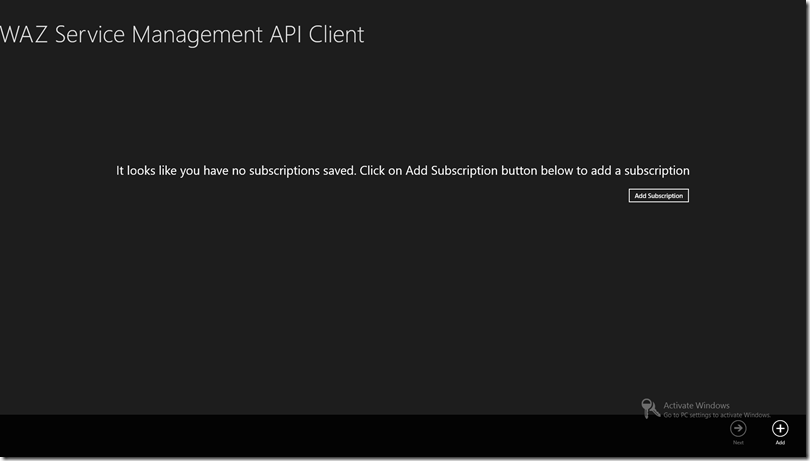
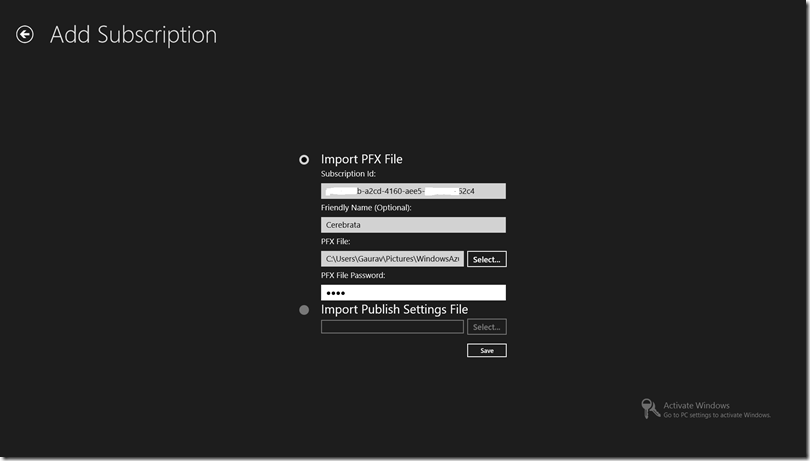
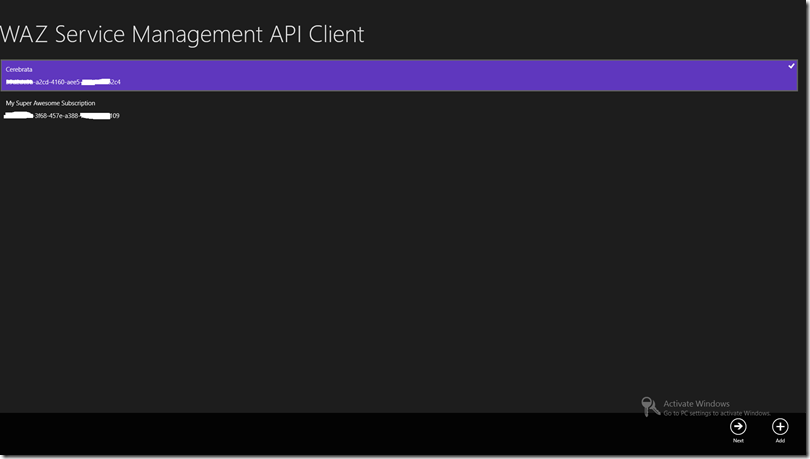
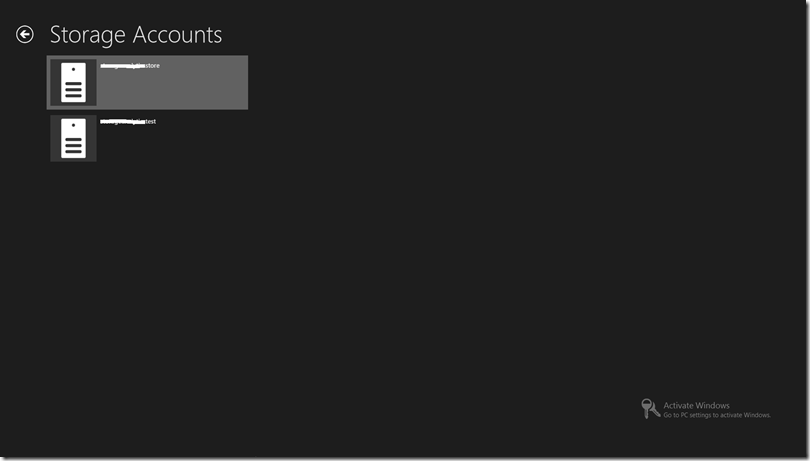
Finally, the moment of glory. It’s really a simple application — I’ve included some screenshots below. You can download the source code here.
Landing page with no subscriptions saved
Add subscription page
Landing page with saved subscriptions
Storage accounts list page
A few things about this application:
- I wrote this application in a few hours’ time (after spending about two days trying to figure everything else out), so the code is not perfect.
- There’s a glitch currently in the application where if you add 2 subscriptions with different certificates, one of the subscription will not work. I haven’t figured it out just yet. For this application I would recommend that you use same certificate for all your subscriptions.
- The application saves the subscription id and friendly name in JSON format in application’s local settings and is not encrypted.
Acknowledgements
I’m grateful to Jeff Sanders from Microsoft for promptly responding to my questions on MSDN forums and offline as well. I’m equally grateful to Harin Sandhoo from Applied IS, who basically provided me with everything I needed to make this thing run in a XAML/C# app. Also many thanks to Mike Wood for letting me know about working with certificates in Windows 8. Without Mike’s help, I would have given up working on this thing. Lastly, thanks to Patriek van Dorp for asking a question about consuming Windows Azure Service Management API in a Windows 8 App. That pushed me into thinking about building this application.


